Remote podcasting involves recording podcasts without requiring the physical presence of the guests and the host in the same location. Dedicated podcasting software and related online platforms are used for connecting and recording instead.
Remote podcasting is the process of recording podcast episodes when the host and guests are in different physical locations. Instead of meeting in person, creators use specialized remote podcasting software and online platforms to connect, record high-quality audio and video, and collaborate in real time, making it ideal for interviews, co-hosted shows, or global guest appearances.
Remote podcast recording is on the rise. More than 59% of corporate podcasts are recorded remotely with software platforms made just for that.
The cost-effectiveness, accessibility, and flexibility of the remote podcasting process make it crucial for podcasters today. Production can be streamlined, and audience reach can be maximised regardless of the location. However, remote podcasting can come with certain challenges, like ensuring high-quality audio or a smooth flow of recording. But why should that discourage you? We’re here after all!
So no waiting around, folks. Gather round, pens at the ready, because we are going to lay down the law for remote podcast recording.
Table of Contents
Step-By-Step Guide for How To Record A Podcast Remotely
Let’s dive directly into the steps on how to record podcasts remotely.
Step 1- Choose The Right Remote Recording Tools
Here is a comparison of 6 popular platforms for remote recording.
| Platform | Pros | Cons |
| Hubhopper (Currently not supported, but you can check our key features) | High-quality audio recording Simplified podcast creation Ease-of-use/user-friendly One-click podcast distribution Both audio and video support Separate audio tracks for the host and guests | Dependency on the internet connection |
| Riverside.fm | High-quality local recording Both audio and video support 4K resolution supported Separate audio tracks for host and guests Platform integration support Text-based editing feature | More expensive than other platform choices. |
| Zencastr | Ease-of-use/user-friendly Separate audio tracks for the host and guests Automation features | Customer services are not rated as high by most users. |
| SquadCast | High-quality local recording Both audio and video support Text-based editing feature with Descript integration | Can be costlier than some alternatives. |
| Zoom | Cost-effectiveness/budget-friendly Video recording-cum-conferencing support Readily available for use | Lower audio quality compared to specialised recording platforms. |
| Cleanfeed | Tailored to low-latency operations Low-latency audio streaming support Low-latency remote recording support | Greater focus on audio but lacks video capabilities offered by other platforms. |
Table 1: Pros & Cons Of Remote Recording Platforms
Consider factors like budget and ease of use if you are new to remote recording. Go for platforms that support live streaming, video recording, and high-quality audio if you have a large audience base.
Professional podcasts should also consider features like text editing, automation, and platform integration.
Step 2- Ensure High-Quality Audio & Video On Both Ends
You must think about recording quality after choosing a remote recording platform.
Microphone Recommendations
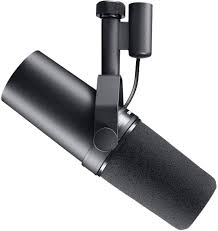
You should check out dynamic XLR microphones. These microphones are excellent for recording high-quality audio. The microphones are built to pick up the least amount of background noise. So, it is a great choice for rooms without soundproofing.
Dynamic microphones are also portable and hardy. They are also mostly plug-and-play ready. Audio-Technica ATR2100x is a studio-grade microphone that you can consider. Shure SM7B is another microphone model that’s worth an investment.

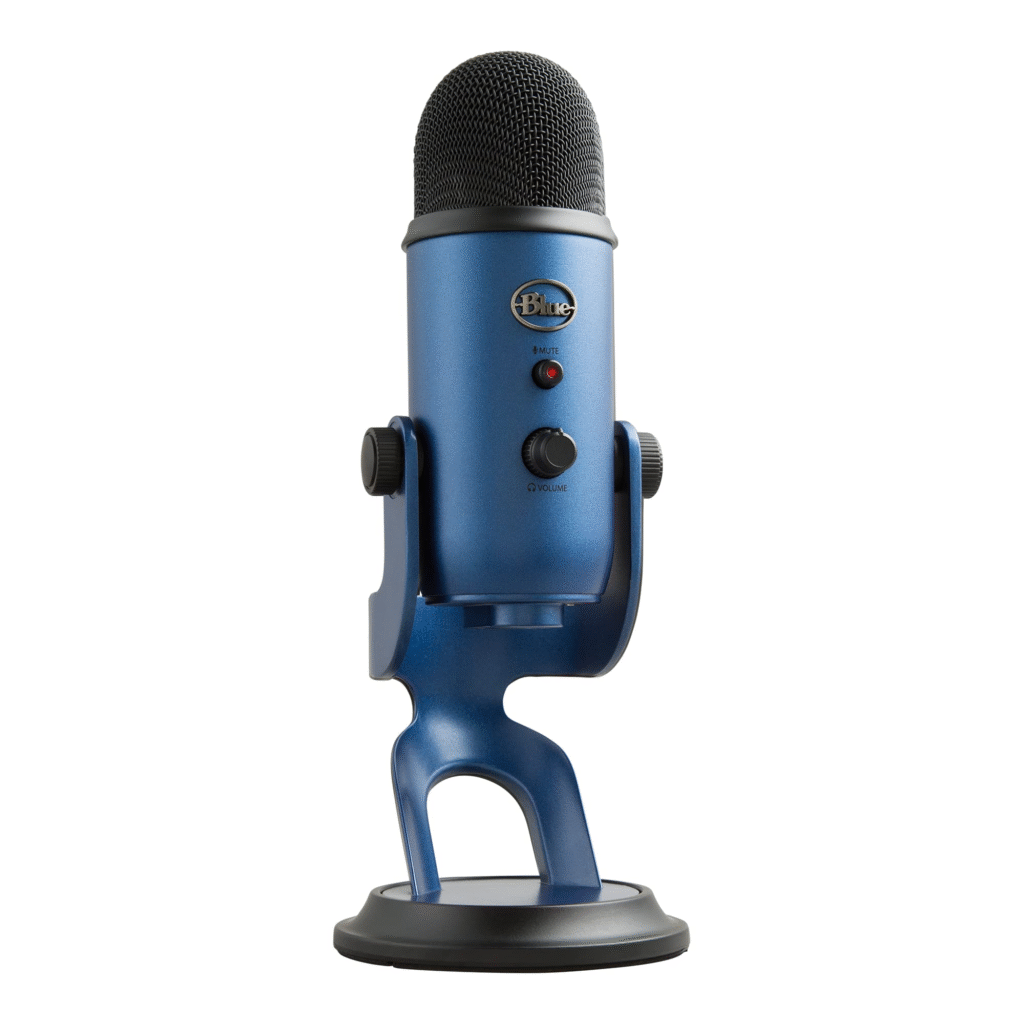
You can also step down and go for USB microphones. You will find a balance between convenience and quality. Consider Blue Yeti Pro if you want to start with a USB microphone.
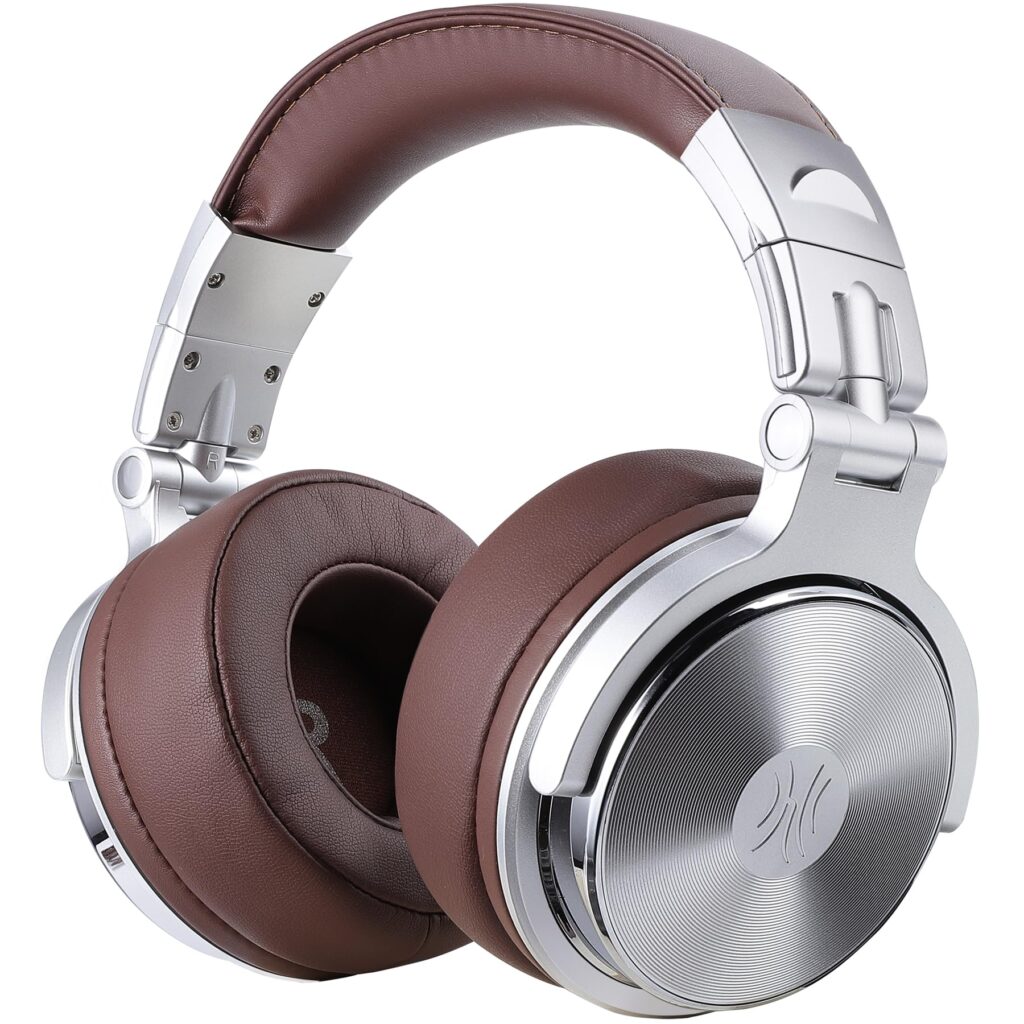
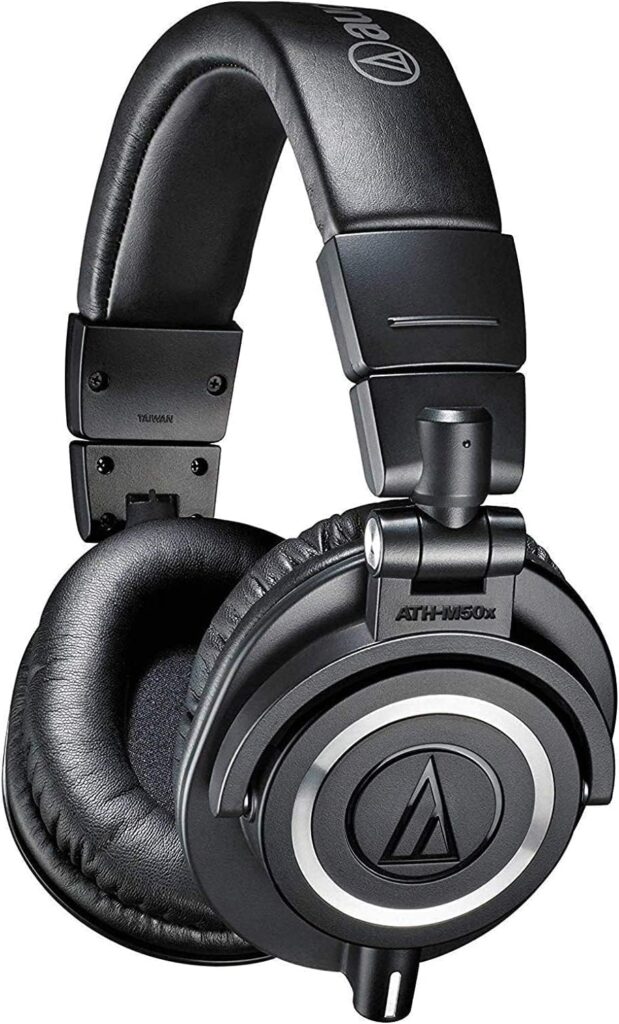
Also, don’t forget to get professional-grade headphones. You need to monitor audio quality and sound levels when recording. Audio-Technica M50x or OneOdio Stereo are professional-grade headphones that you can get.
Camera Recommendations
A camera with good autofocus and high-resolution video support can help you make great video podcasts. Consider features like eye autofocus, 4K resolution, and low-light recording.
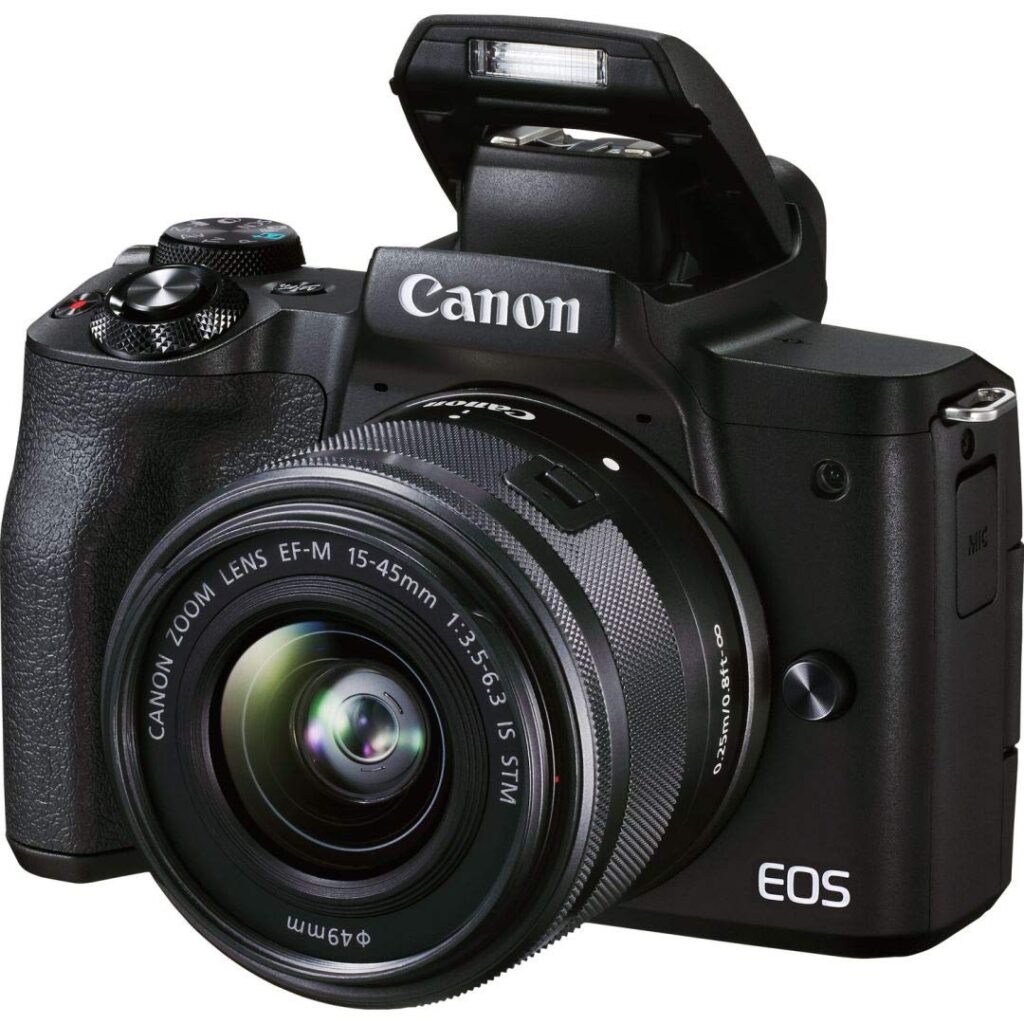
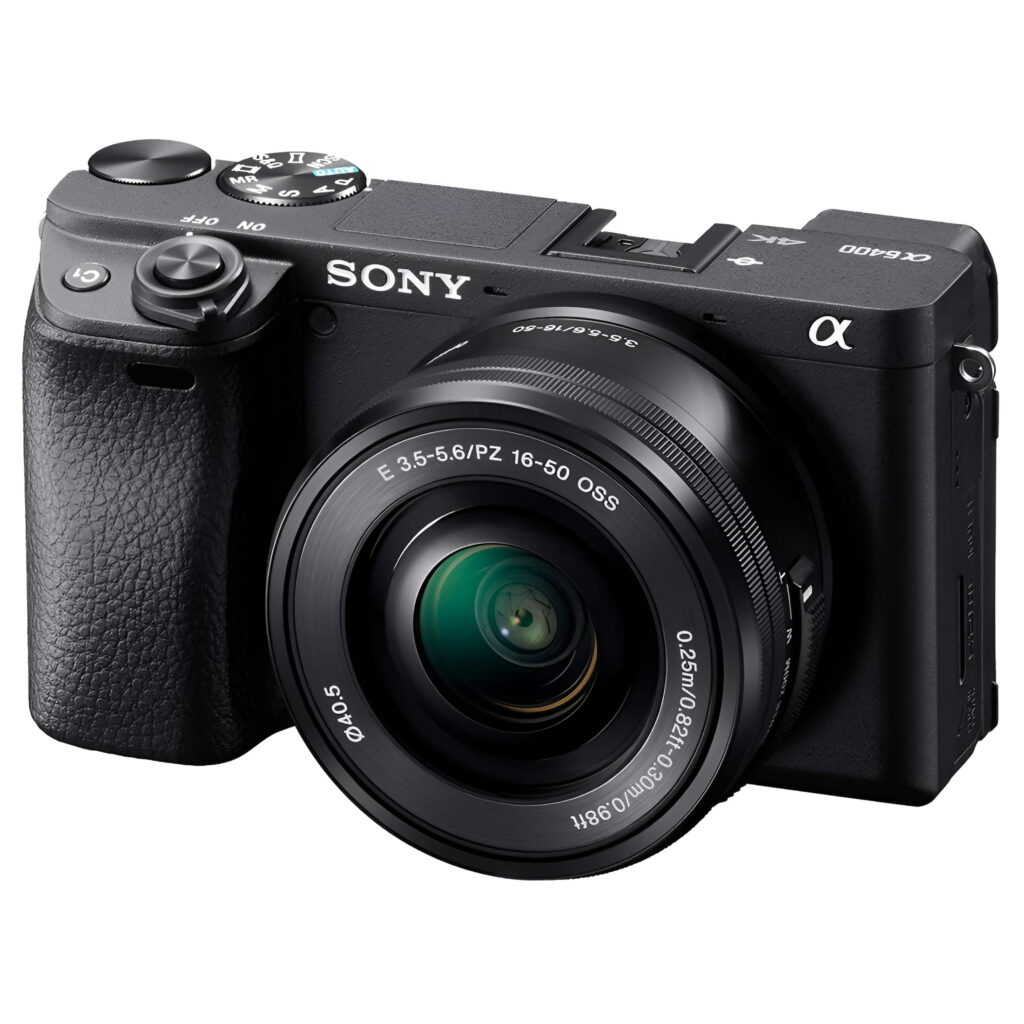
You want the camera to be professional grade. Some recommendations include the Sony a6400 and the Canon EOS M50 Mark II.
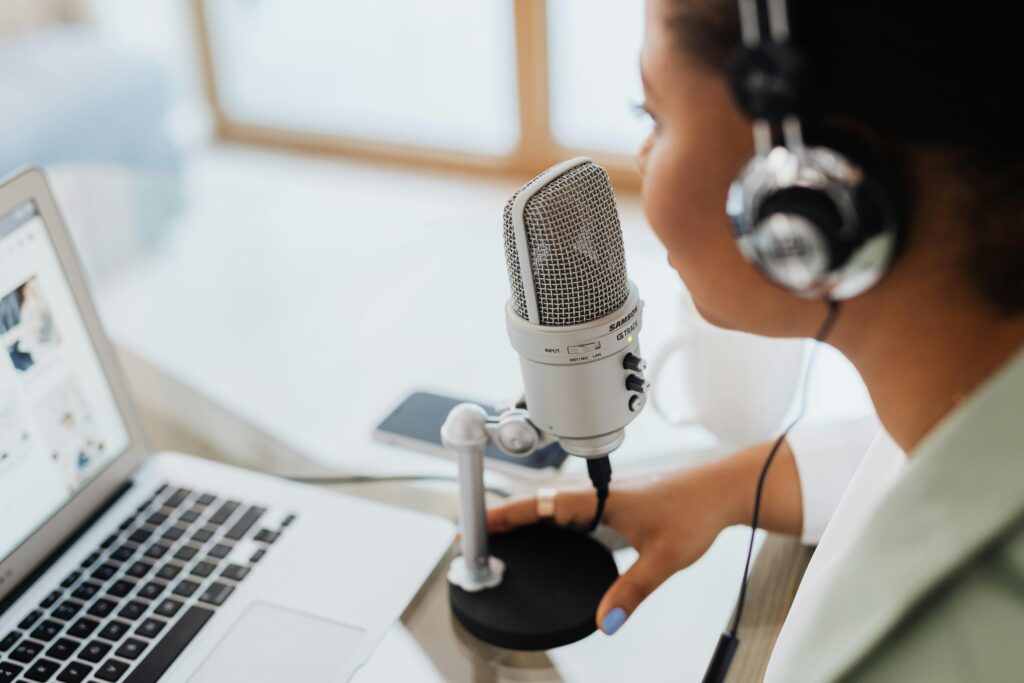
Best Practices For Recording
Image: Home Studio Setup Example
Use a windshield to reduce wind noise. Consider windshield models like Rode WS2 or Heil WSPPR40. Get pop filters to minimise hard sounds. You can check out the Auray PFSS-55 or Nady MPF-6 pop filters.
You may also consider a compatible shock mount for your microphone. Check out Heil PRSMB or Rode PSM1.
Choose a room that receives minimal ambient noise coming from appliances or traffic. You can also try soundproofing your room. Materials such as acoustic panels and blankets can help you achieve that. You may also lay mats and hand draperies to minimise echoes.
Local Vs. Cloud-Based Recording
The best way to record a podcast depends on your situation.
Local recording involves participants recording audio on their own computer, mobile device, or recording tool. Recording is done offline. The recording files are then combined during the time of editing.
For example, participants may record podcasts on iPhone or use a professional microphone. So, high-end devices can be used to record high-quality audio. Your audio will also not be compressed, as there is no need for live transmission. And internet connection fluctuations won’t affect your recordings.
But remember that cloud-based recording platforms come with features like online storage and multitrack recording. It means you can store your files online for access by every participant. And all the participants can record simultaneously.
So, you will have more control during the mixing and editing stage. The final recordings will be more polished.
Step 3- Prepare Your Guests & Co-Hosts
The right preparation is essential for successful remote podcast recording with guests.
Pre-Recording Checklist
Ensure that your microphone, headphones, and recording device are properly connected. Make sure that the recording software is running and responsive.
Perform an audio test to check microphone levels and audio quality before guests join. Choose a recording room that is free from echoes and background noises.
Share Instructions
Ensure that the first-time guests are clearly instructed on how to join. If any link or software is needed to join, don’t forget to share that with your guests. Also, specify any desired recording format, whether audio or video. You should also clarify if there are any speaking guidelines.
Conduct Short Rehearsals
You will benefit from a short rehearsal session. It will allow you to test the audio and internet connection. So, technical issues can be detected and addressed before starting with online podcast recording. Short rehearsals can also help make your first-time guests feel more comfortable.
Step 4- Check & Fix Internet Connection
It is absolutely essential to have a stable internet connection for remote podcast recording.
Check Connection Speed
A poor internet connection can lead to dropped words and choppy audio. The overall podcast listening experience will be poor. An unstable connection also leads to dropped calls.
The hosts can get disconnected unexpectedly during conversation. This will disrupt the flow of conversation and cause frustration. So, check your internet speed prior to beginning with recording sessions.
Wired Vs. Wireless
Wired connections like Ethernet offer more stability. Wireless connections are convenient but less stable. Wireless connections are more susceptible to interference. Wireless connections are also affected by poor signal strength. The best way to record a podcast is to use the internet via an Ethernet cable.
Tips to avoid latency and dropped calls
- Ensure that all the participants have a stable and strong internet connection.
- Check the connection speed and stability before you start recording.
- Prioritise the use of a wired connection over a wireless. Ethernet cables offer more stability than wi-fi.
If your connection does not get better, try recording locally or offline.
Step 5- Sync & Backup Recordings
Local recording files by individual participants have to be synchronised and backed up.
Recording Backups Locally (each person records their own track)
You can record backups locally. It involves each of the participants recording their own track. These separate tracks can be combined using editing software. The advantage of recording locally is that you won’t be interrupted by internet strength fluctuations. So, you can record in high quality as well.
Double-Ender Backup & Recording
Back up the file on the cloud. Also, make sure the backup file is synchronized for access by each participant.
Follow a double-ender recording method. Record the audio locally first. Then, combine the recordings from all the participants. Sync the recordings till you end up with a single polished audio file.
Auto Backup & Folder Sync
Automate cloud backup and syncing. Use a reliable platform like Dropbox or Google Drive for cloud storage. Automate the syncing process between local and cloud recording folders.
Cloud backup tools and syncing strategies
Consider using the 3-2-1 backup strategy. Maintain three copies of your podcast files. Keep the original copy. And maintain a copy in the cloud and on local drives.
Keep these backups stored in 2 different types of storage. You can consider a local disk drive and cloud storage.
Maintain another backup in a separate location, like another cloud drive. This will ensure the availability of files even if local backups get damaged.
Step 6- Post-Production Adjustments
Here are the post-production tips to follow during remote podcast recording.
- Edit audio tracks separately for better control. You can make specific adjustments to audio elements. For like music, voice, and sound effects.
- Tools like Audacity, Adobe Audition, and Descript work well for background noise removal.
- Remove background noise and perform audio-video sync. Use software for detecting and fixing unwanted sounds. Sync audio and video tracks in the right way.
- Tools like Adobe Premiere Pro and DaVinci Resolve can be used for proper audio-video sync.
Step 7- Follow Remote Podcasting Etiquette
You must have learned how to do a podcast remotely by now. Know some remote podcasting etiquette as well.
- Mute your microphone when you are not talking. Pause before you speak to let others jump into the conversation.
- Don’t talk over each other. Use hand signals to let everyone know that you want to speak. Establish such a system of communication with your co-participants.
- Use open-ended questions to drive more detailed responses from others. Vary the pace at which you speak to allow a dynamic flow of conversation.
- Use verbal cues and phrases to let everyone know if you want to or are done speaking.
Best Practices For Remote Recordings
Here are the tips to remember on how to record the podcast remotely.
- Optimise your recording environment. Do some soundproofing with soft furnishing and tightly closed windows.
- Invest in good audio equipment. Get professional microphones and headphones. Also, consider pop filters.
- Set up a stable internet with wired connections. Test your internet and setup with rehearsal sessions.
- Optimise your workflow. Choose a dedicated remote recording platform. Establish rules on recording locally and backing up on the cloud.
Ready For A Remote Recording Tool?
It is easy to record podcasts remotely. You just need the right podcast hosting platform, equipment, and environment. Purchase a dynamic microphone and professional headphones.
Set up a remote recording platform based on your needs. Set up your recording studio in a location away from the noise of traffic. Use soundproofing materials to further enhance your recording environment.
Record locally but backup files in the cloud. Follow the double-ender approach. And don’t forget to use a good tool for noise removal and audio-video sync. And make sure you maintain the remote podcasting etiquette. Most of the tasks will be simplified with a remote recording platform. So, get one now and start recording.
Frequently Asked Questions
1. Can I use hardware instead of software for remote recording?
Yes, you can use hardware instead of software for recording podcasts remotely. There are audio interface devices like Zoom PodTrak P4 that connect computers with recording equipment.
2. How much will a remorse podcast setup cost?
The cost of a remote podcast setup depends on what equipment you are getting. A very basic setup will cost around $100, give or take $20. This will include a basic microphone and headphones (assuming your phone/laptop camera will suffice), and using free editing and hosting software as much as possible. Multiply this cost by as many hosts and co-hosts as your podcast will have. Of course, this is a very basic and loose estimate. The more high-end your setup is, the more it is going to cost.
3. What can I do if my internet connection is not fast enough for remote recording?
You can try recording locally if your internet connection is not stable enough. Local recording means that your video and audio tracks are being saved to your device. So, it is about offline recording, and is thus unaffected by your internet status. You can also edit the file offline and publish when your internet’s stability is restored.
4. Is it absolutely necessary to use a remote recording tool as a video podcaster?
Using software is not absolutely necessary for remote recording. But a software will offer you several advantages. You will have one single platform for recording, editing as well and sharing. The tools also come with backup and cloud recording features. You will also find audio editing and collaboration features.